
This is a tutorial on how to activate Periodic Campaigns (one-time campaign) from Collect Dashboard
Campaign settings:
1. Log into your Loyall Collect Dashboard (to create a campaign) by visiting Loyall website. Click here.
-
- Your password has been sent by email, with the subject "login til dashboard"
- If you can't find your password, please email; support@loyall.no
- Press "campaigns" on the left.
- Scroll down to "All campaigns", and select the blue button "create new" on the right.
- Select location (your company) from the drop-down menu.
- Choose a campaign title. For example, "Welcome to demo hotel".
- Choose the campaign type "one-time campaign".
- Select a recipient type "email" or "SMS".
- Email is often used for the digital customer journey, periodic newsletters, and marketing campaigns. Cost for sending emails is free.
- SMS is often used for messages that request a quick response. 90% of SMS is read the first 4 minutes, and 98% of all SMS is being read. The cost of sending SMS is 0,59NOK, and the "will cost" estimates the cost for your campaign.
- Decide the "campaign start", and schedule.
- Source: select between "standard segmentation" or "audience list(s)".
- Standard segmentation refers to, as defined in the segmentation below.
- Audience list(s) refer to the use the of audience list(s) defined below to determine who receives the campaign.
- You may choose to delay the sending or not, depending on the campaign.
- The time period of delay will be calculated from the "trigger event" (campaign activated).
Tip
Add multiple "one-time campaigns" in parallel, and schedule them at different times.
Segmentation:
- Choose which consent you want for your campaign. Select between "legitimate interests" or "active consent".
- Legitimate interests refer to, everyone that has confirmed that they are a guest.
- Active consent refers to, everyone that confirmed their interest in marketing from your location (company).
- Choose between the three visitor types "all types", "first-time visitors", or "loyal/returning visitors".
- All visitors refer to, both returning and first-time visitors. Selecting this you will communicate with all which is every visitor who actively accepts your communication.
- First-time visitors refer to, the first time someone visits your location. Choose "first-time visitors" to segment a targeted message to those who visit your venue for the first time.
- Loyal/returning visitors refer to, returning visitors. Choose "loyal customer" to segment a targeted message to your own definition of loyal customers. Pick the number of visits that define your perfect audience, and choose between "all-time", or choose a specific time period.
- Have a thorough look at your new campaign settings before pressing the blue button "create campaign".
Tip
Do you have a special offer that you only want to send to your loyal customers?
Select "loyal customers" "number of visits" = "2 or more" and checkbox "all-time"
Do you want to reach as many as possible?
Select "all".
Select "loyal customers" "number of visits" = "2 or more" and checkbox "all-time"
Do you want to reach as many as possible?
Select "all".
- Once you have designed your communication, either with a basic setup or Loyall Template builder, you can send yourself a "Test Campaign" to see how the campaign look.
- If your design looks how you wanted, and all click links are working as they should, you can activate your campaign by pressing "Activate Campaign".
- Your campaign will be added to the queue and sent based on your chosen criteria.
- You will be redirected to a status page for your campaign, where you can see the campaign settings, key numbers, sending status, and email status.
- Under the section "campaign settings" you will find an overview of design, preview, settings, and segmentation.
- Check the "target segmentation" and make sure that the values are in line with your wishes.
- Campaign rapports can be followed live on the campaign summary page. Click here
Tip
If your recipients are lower than desired, add milder segmentation.
Template builder makes it easy to drag and drop pictures and text to create a stunning newsletter.
- Press "Compose" to access the campaign builder.
- The builder contains a drag-and-drop menu.
- click & drag the logo field at the top of your campaign.
- click & drag preferred content blocks.
- click & drag and add text.
- click & drag and browse pictures.
- click & drag and link the trigger button.
- click & drag and link social media buttons.
- After you have added some pics and text, your campaign can have a similar structure as the picture shown below.
- Every time you add a new block, the "properties" field opens, here can you make changes to the specific block.
- Press "Save Template" when finished .
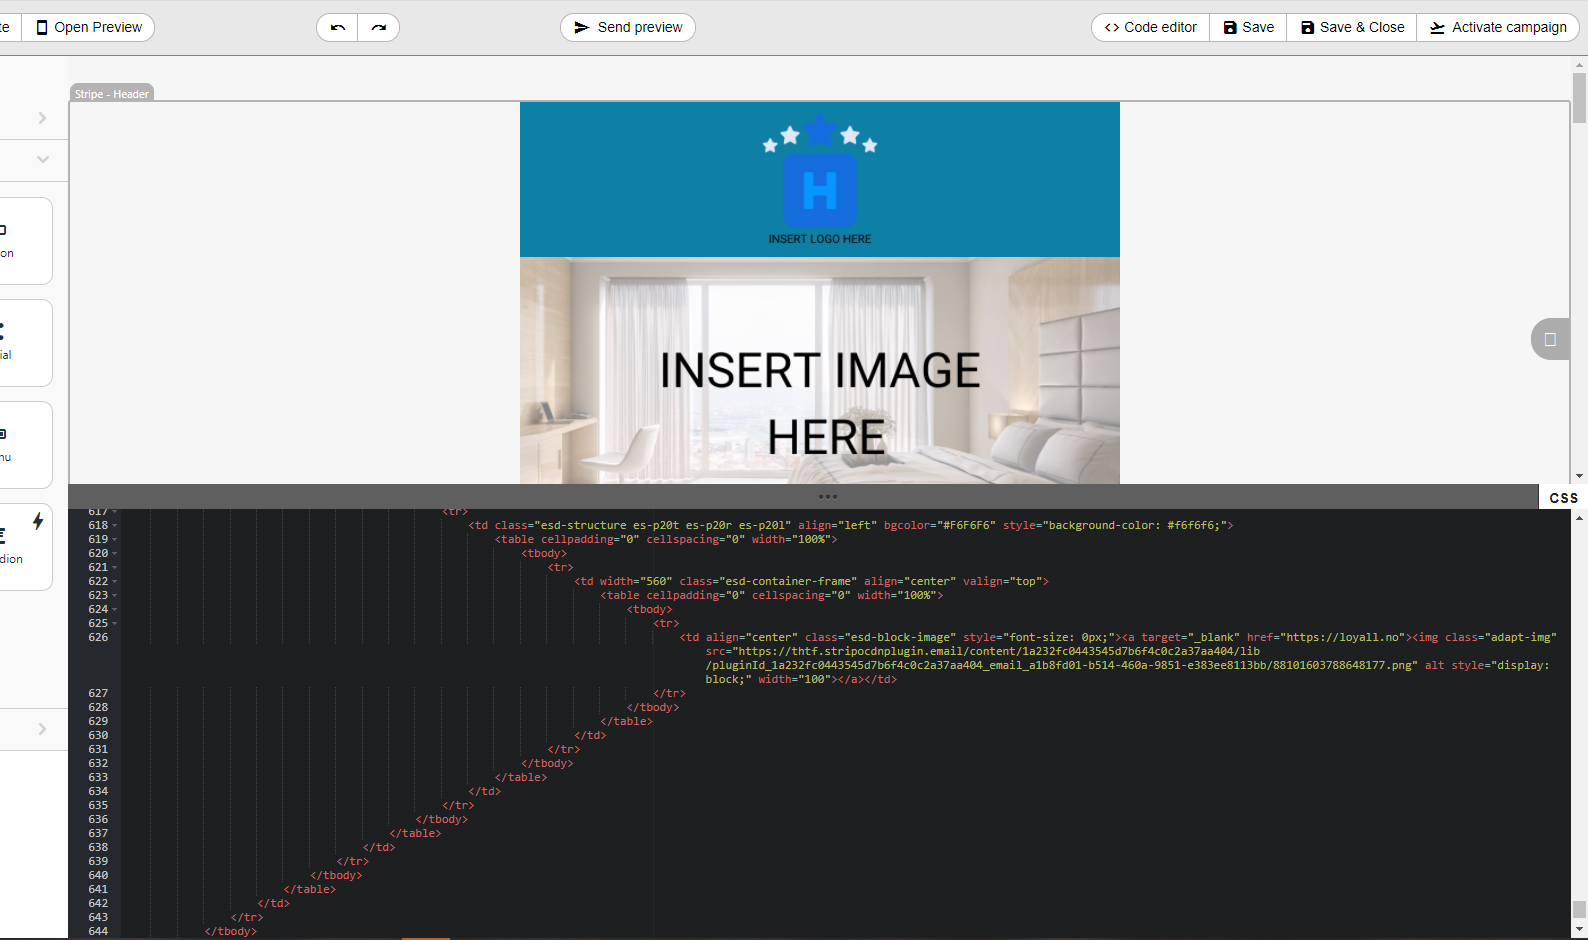
Code Editor is often used if you must build a campaign in another mailing system, and instead of building it twice, you can copy-paste within 2 minutes.
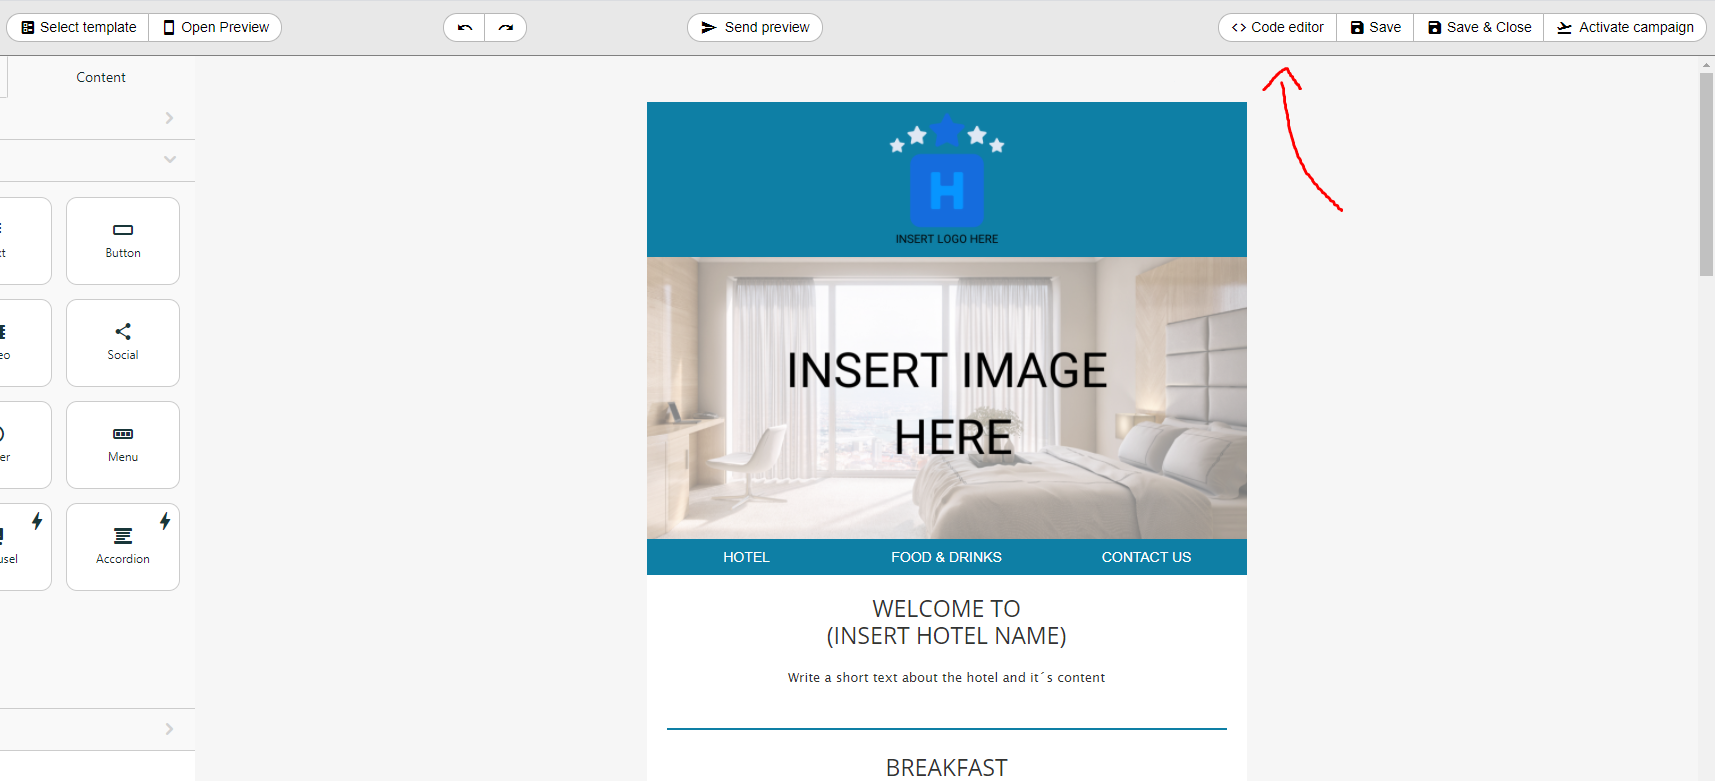
- Go to "design", and select "code editor".
- Export your campaign from (example Mail Chimp) to your local computer
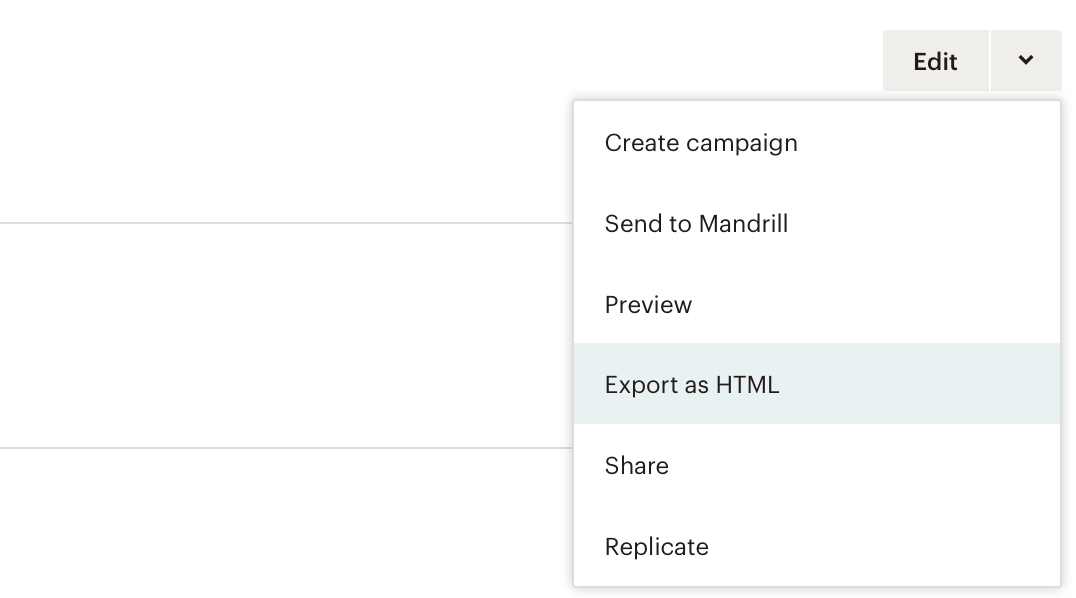
- Open your downloads
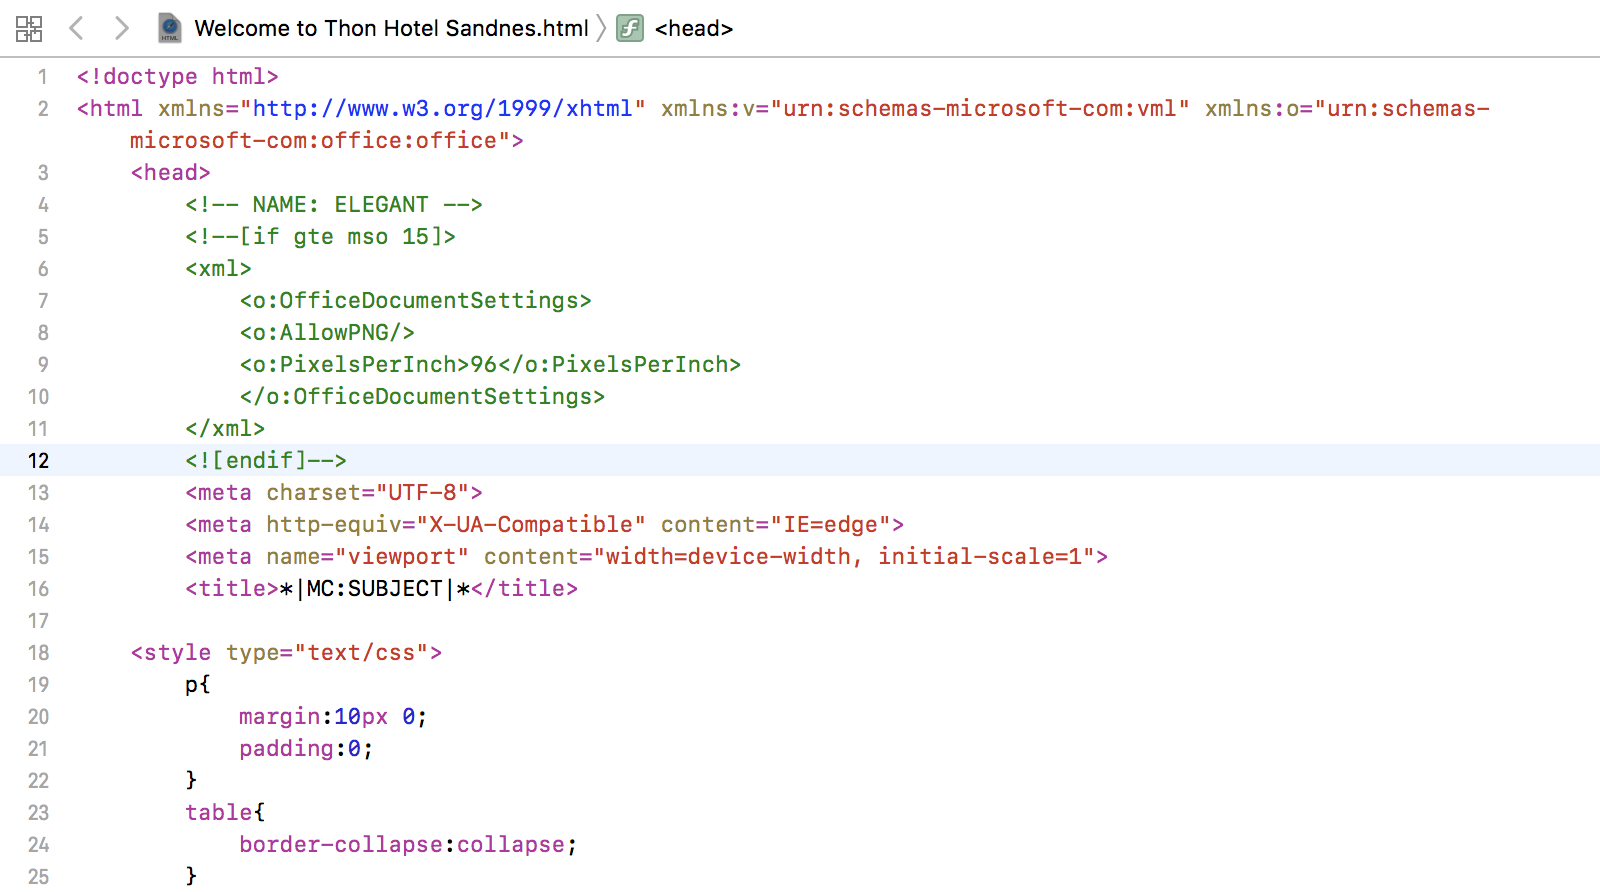
- Open the HTML file in Xcode or another similar HTML reader.

- Open the HTML file in Xcode or another similar HTML reader.
- The campaign will open as a code document, copy the whole document (cmd "c")
- Click on Code Editor in the template builder, select all (CMD "a"), and delete all text (DEL)
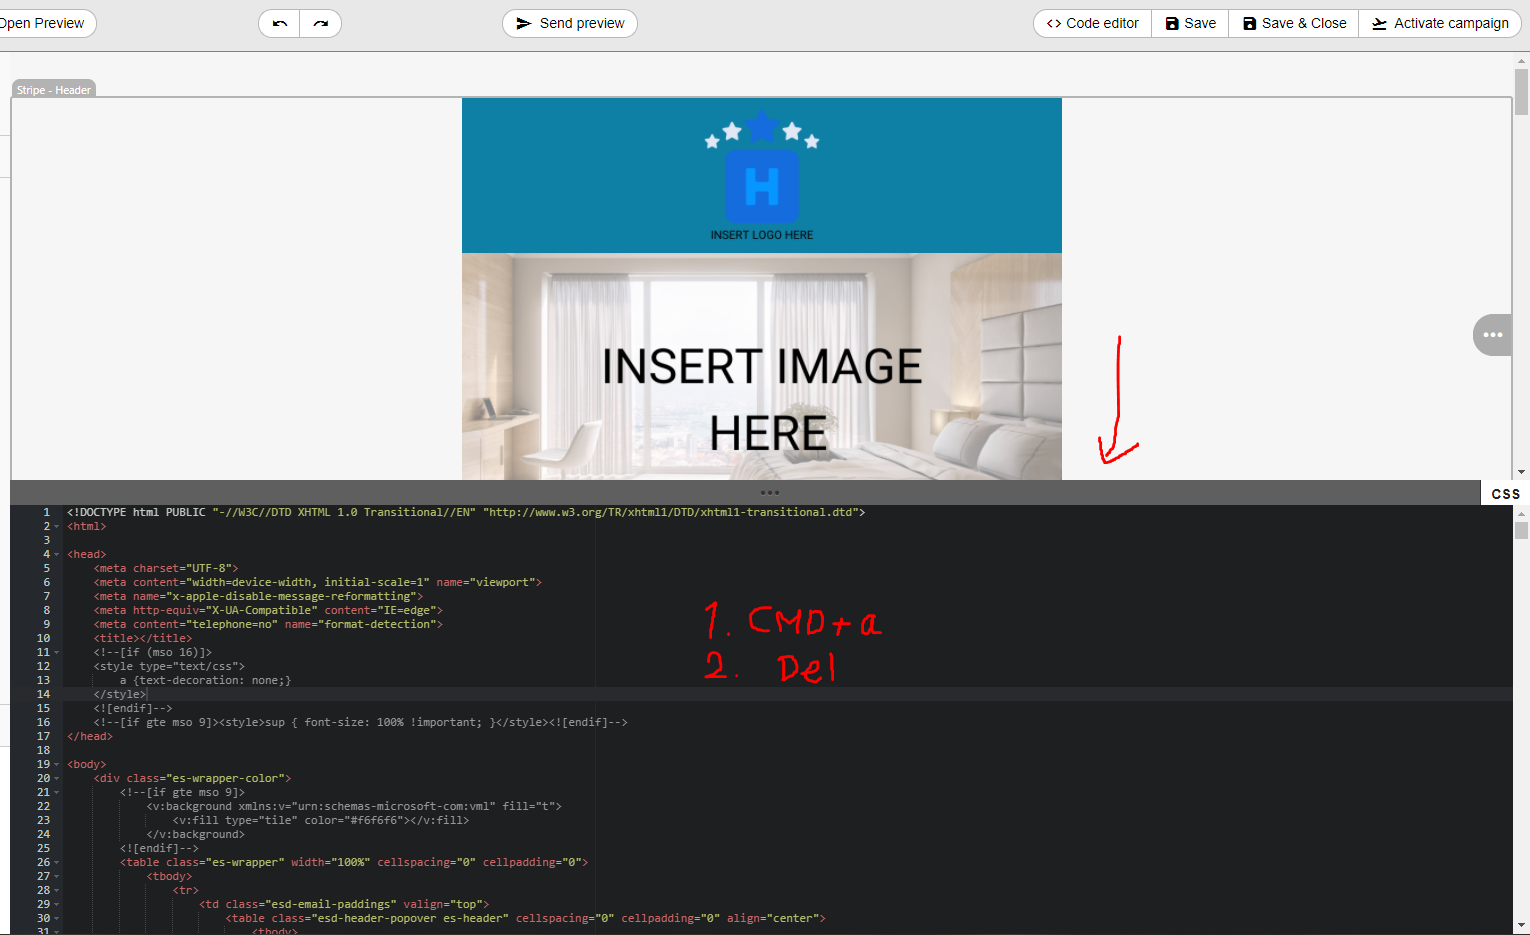
- Paste what you copied in Loyall Code Editor (cmd "v")
- Once you have designed your communication, either it’s with a basic setup or Loyall Template builder, you can send yourself a "Test Campaign" to see how the campaign look.
- If your design looks how you wanted, and all click links are working as they should, you can activate your campaign by pressing "Activate"
- Your campaign will be added to the queue and sent based on your chosen criteria.
- You will be redirected to a status page over your campaign, where you can see the campaigns sent actions, trigger events, segmentation and press to see online Campaign preview.
- Check the "target segmentation", and make sure that the values are in line with your wishes.
- Campaign rapports can be followed live on the campaign summary page. Click here
We recommend checking the campaign results in the Campaign Summary.
A typical one-time campaign has generated its campaign results after 48h.
Check the Campaign overview after that time period and analyze the result.
Check the Campaign overview after that time period and analyze the result.